I was dabbling in some artsy things last night, and I decided to carve a new linoleum stamp and print some blank cards that I've had laying around in my craft stash. Block printing is something I'm fairly inexperienced with, but something I really love doing, and it's really one of the forms of art that I practice that actually make me feel like an artist. I consider myself a learning graphic designer, which is a genre of art that is usually created on a computer, and it's hard to feel "artsy" when you're not really getting your hands dirty, or having to clean up your workspace at the end of a project. (Cleaning brushes and tables, letting things dry, ect.) So, I do some block printing from time to time.
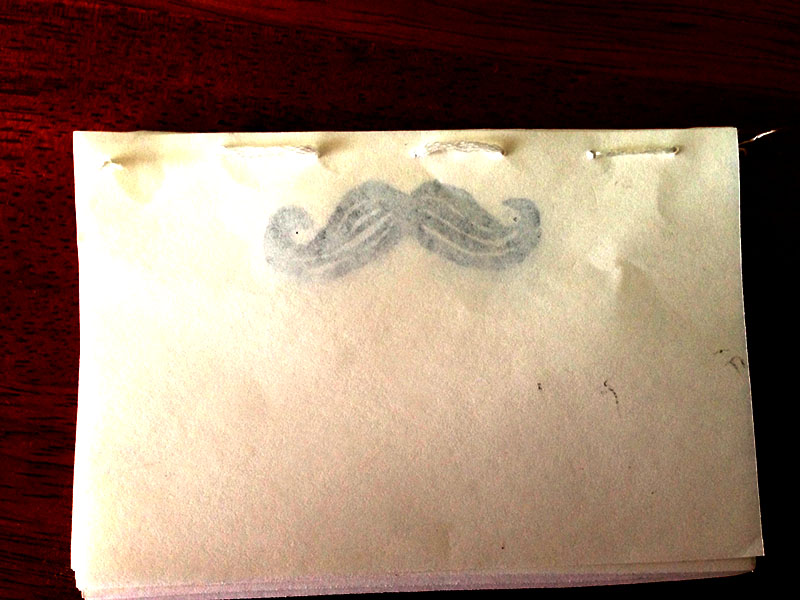
For Julian's first birthday, which was mustache themed, I carved a mustache stamp to possibly use for favors and decorations. Block printing isn't like buying a rubber stamp from AC Moore and a pretty ink pad, and stamping around on some paper. It's rolling out your oil based ink, rolling the ink on your hand-carved linoleum stamp, stamping it on your paper by hand, rubbing the stamp with a brayer, and peeling the stamp off and hoping it came out the way you wanted. And repeat. For every print. Because of this process, I didn't use the mustache stamp in the capacity that I would have liked to. But, I made this
simple notepad out of some pieces of paper and some embroidery string last night/today that I'd like to share as my first project on the blog!
(I promise I'm done rambling for today)
Materials Needed:
Some of those materials will make you turn around and chalk this up as another thing that's too involved for your taste, but it's really a quicker process that you think, and it doesn't have to be expensive. The materials you buy for block printing will last you forever if you treat them right and use them moderately. Lucky for me, I have an art teacher/friend that gave me some starter materials. Hi Mrs. Parkman!
First, you'll want to carve your linoleum into the shape of your choosing. Anything would work- a symbol, a logo (with some practice), your initials. There's a good tutorial on carving your linoleum
here. It's pretty self explanatory though!
Once your block is done, you can test it out to see if you need to change it or carve deeper in any areas.
Then, you can cut your paper into the size that you want your notepad to be. I folded and cut my paper in half four times to get the size I made, and it's perfect for a little list! Once your paper is cut, print your design onto it wherever your heart desires, and then set each piece to dry. I let mine dry overnight, because even when it feels dry, the ink can still be really tacky.
I printed about 30 pieces for my notpad, but you can do any amount that you want. This would even be a good idea for a mini journal!
Once your pieces are dry, you can begin to assemble them!
I made a little template for poking the holes in the paper to bind the notepad, so that the holes would be easy to thread. Taking your piece of scrap paper (I used a long coupon I'll probably never use), fold it in half to create an edge to line your paper up on. Then mark where your holes will go (how far apart and how deep into the paper). I cut the top of the back of this scrap paper, so I'd be able to poke all the way through my pages to make the holes big enough. The front of my template looked like this:
Fancy, I know. This is the template with the first few pages in it, and opened up. See how I cute the back off, but kept enough to be able to line the pages up?
Now it's time to poke some holes! Making sure all of your paper is lined up nicely, you can poke through the scrap paper and your first few pages, pulling the embroidery needle all the way through the pages.
You could probably cut your steps in half by pulling the thread and the needle through the pages and the scrap in this step, but I separated the steps so I could eliminate the possibility of messing my holes up and having to start over again with the threading part.
Once all of your pages have nice holes in them, you can go through again with the needle and thread.
I found as I went that it was best to group all the pages together, but pull the needle and thread through a few pages at a time. Pulling the thread through was a little more difficult than just the needle. This is where it comes in handy to have pre-poked holes, so you can be sure everything is aligned nicely.
I wish I had a more exciting color of thread on hand, but my pack of red got all tangled in my last project, so I only had white. It would be super cute in a neon pink or blue, or even red!
Once your pages are threaded together, you can pull it tightly and tie off each end and snip them down so they're not visible.
And then you have a nice little book or notepad! This is the most simple binding you could do, but with a bigger needle you could really get fancy with it and go back through to create a really secure binding. Since I might be tearing off these pages as I use them, I didn't want my paper to be too thick, or my binding to be too tight.
I hope you had a happy weekend! Hopefully we will start having some summer weather (gasp!) here in Central New York so I can actually do some summer activities (gasp!)!